The Sunday snuggles on the couch, the long walks on a beautiful fall day, the unconditional love – some parts of pet ownership are simply amazing. Others, not so much. Many people dread cleaning their pet’s ears, and our staff at Summeridge Animal Clinic often hears the question: “Do I really have to?”.
While our answer to your question is “Yes”, there are certainly some ways to help make act of pet ear cleaning less of a chore. It is an important part of pet care and something you are very capable of, whether you think so or not!
All Ears
Your pet’s ears are important. While animals can certainly function without their hearing, dogs and cats are built to rely heavily on this sense. Cleaning your pet’s ears helps to ward off devastating issues and can help avoid the development of painful ear issues as well.
Regular pet ear cleaning can help to keep the ears free of debris and other substances that can cause irritation. Removing excess wax can also help ward off trouble and allow any needed medications to work more effectively. Cleaning your pet’s ears also helps you to be more cognizant of what is normal and to be sensitive to signs of a problem earlier than you might otherwise notice an issue.
Understanding the anatomy of your pet’s ears will help you to clean more effectively. The dog and cat ear consist of:
- The pinna (the external ear flap)
- The external ear canal (this “L” shaped canal is the structure we clean and is the location of the most common pet ear issues, otitis externa)
- The middle ear (the area behind the ear drum that drains into the throat)
- The inner ear (communicates hearing with the brain and controls balance)
If you are still unclear about your pet’s anatomy, please give us a call. We will be happy to answer your questions and demonstrate an ear cleaning for you.
The Down and Dirty of Pet Ear Cleaning
Once you understand what you are cleaning and why you are doing it, you’ll want to be sure that you are prepared to do the deed. Pet ear cleaning is one of those tasks where prior organization is extremely helpful.
Gather your supplies — You want to be sure that you have what you need before you start. Always use a pH balanced ear cleaning solution (we are happy to recommend one). You may wish to warm the bottle in a bowl of warm water for your pet’s comfort (don’t use the microwave). Likewise a healthy supply of cotton balls, a few cotton-tipped swabs for crevices, and some paper towel are helpful.
Pick your setup — Ear cleaning can be messy business. Clean your pet’s ears in a location that is easy to clean (think of head shaking and flying debris). Work at a comfortable level for you (elevating small dogs and cats is typically best) with good lighting. Enlist help if you are unsure or expect your pet to be less than cooperative, and be sure to grab your pet’s favorite treat or distraction.
Observe closely — Before cleaning, take a look at your pet’s ear. Observe for signs of redness, any sores, the amount and colour of discharge, or a foul odour. All of these things indicate a problem and are signs that you need to make an appointment right away.
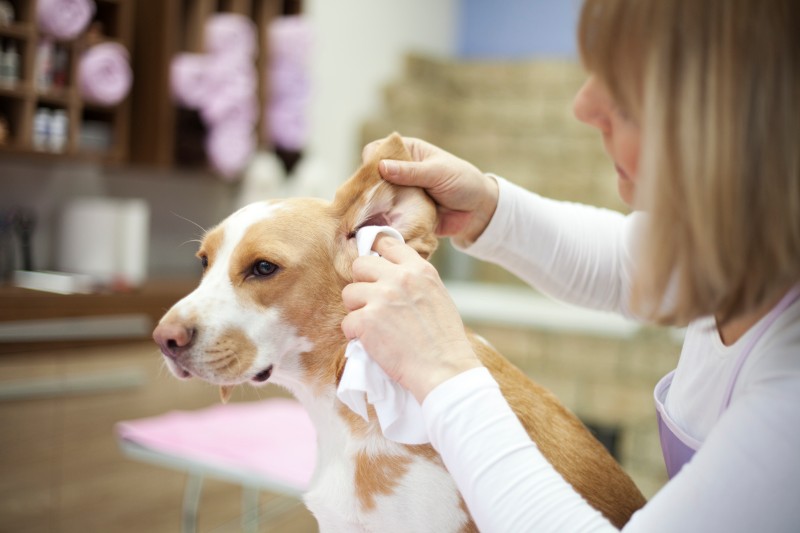
Get cleaning — Gently fill the ear canal with cleaning solution by inserting the tip of the bottle about a quarter of an inch into the ear canal opening. You can also apply some to the pinna if needed. Massage the base of the ear and allow your pet to shake (this helps to loosen any debris). Then use your cotton balls to remove the solution and debris from the ear canal and pinna. Your cotton-tipped swabs can be used to clean any visible crevices. Use your paper towel to dry the ear. Be sure to reward your pet for a job well done!
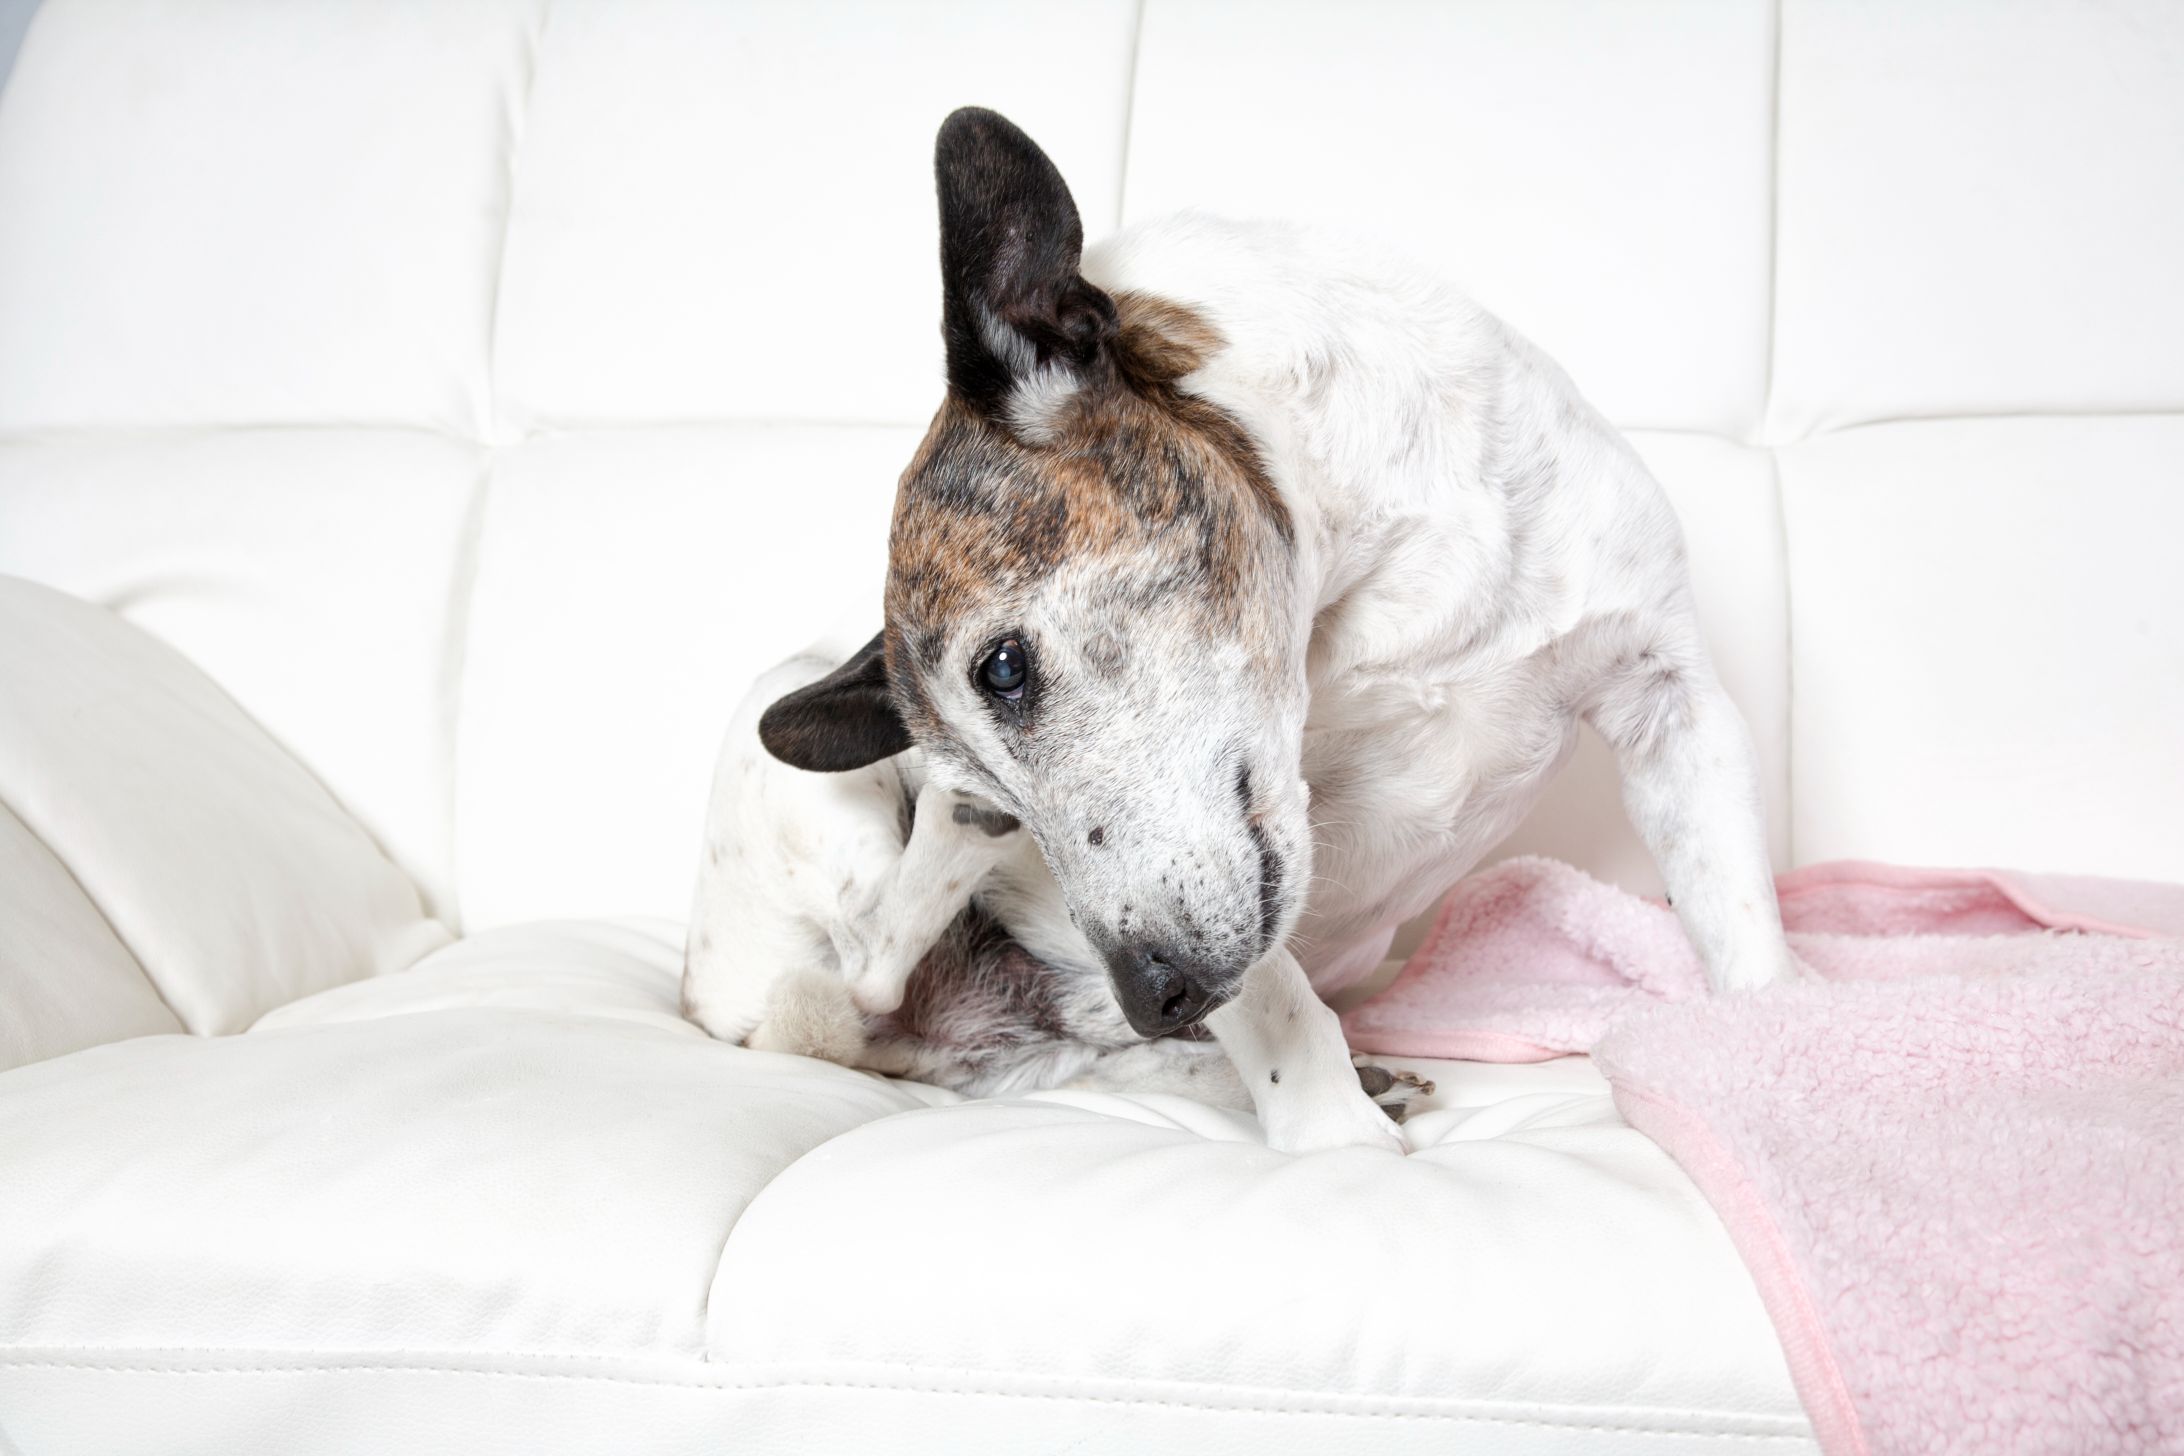
We frequently see ear trouble related to things like environmental allergies, food sensitivities, growths or other foreign materials in the ear canal, dermatological problems, or breed-related anatomical challenges. Having you on our team to advocate for healthy ears in our patients is a valuable asset!


